How to fix your Mac when it stuck installing Big Sur without having backup....
You probably tried to wait for a whole night but it doesn't helped. Even if you restart your computer it will be loading and then stops during loading without any chances. You may try to do a safe boot (holding shift key) and it moves further and pass the final steps until you will see the desktop but without any users available you will have only the option to create a new user and after reboot, it will turn to standard (not admin) and you will not be able to access your data, and your computer will work veeerryyy slow.![How to install macOS Big Sur beta on a separate APFS volume [Video] - 9to5Mac](https://9to5mac.com/wp-content/uploads/sites/6/2020/07/macOS-Big-Sur-Beta-install.jpg?quality=82&strip=all)
But instead of wasting time trying to bite yourself elbow, I suggest you make real steps to save your data and make the system install complete and return back to work.
First of all you need an external hard drive with the same capasity as your Mac internal or larger. This external drive will be erased so take care that there are no important data.
Next, connect this drive to your Mac and reboot your computerholding Command+R (we will boot into Recovery).
Now, start the Disk Utility, and there, VERY carefully, select your external hard drive- do not do a mistake, NOT internal HD, but External it is usually the lower one on the left sidebar where devices are shown.

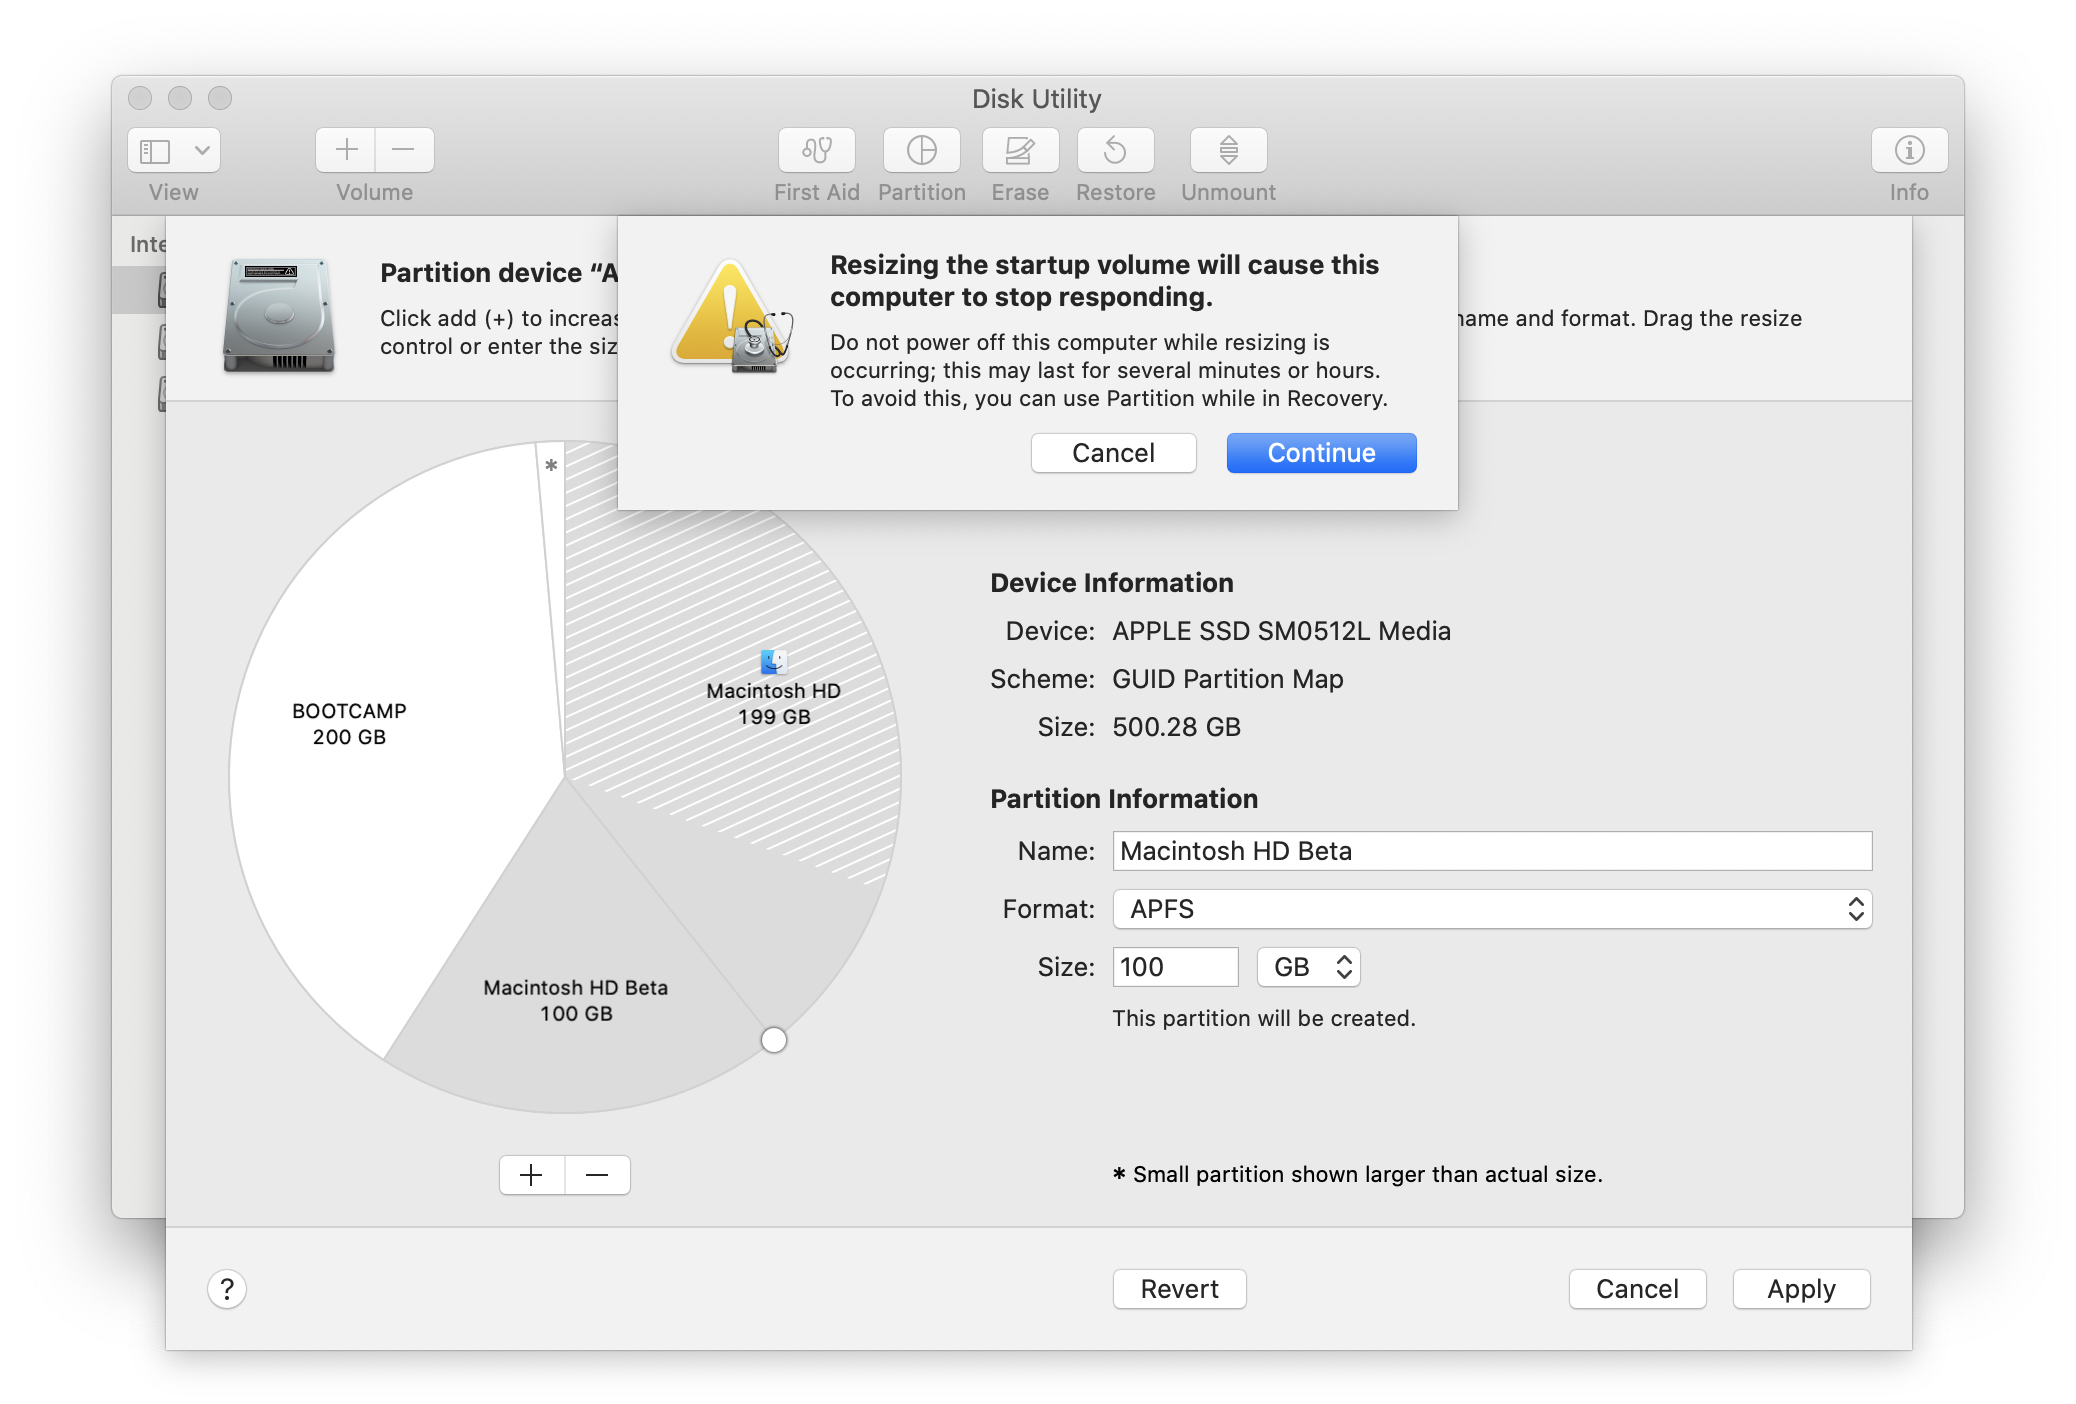
Then click on the button Erase on the top right and select the same filesystem as your Internal HD have - should be APFS, but in rare cases may be different. We need to create only one partition that will take the complete space available. (unlike the example on the image)
Going next to Apply this and we now have an external drive with APFS partition. After that, select created partition from the left side (if it is not already selected) and click the Restore button from the top right (just next to Erase). It will ask you where this partition should be restored from:

When you successfully finished the process of restoring the partition, select the internal hard drive and erase it (since we copied all the data to an external drive), making the file system APFS (not the Case sensitive) and you may name it whatever you wish.
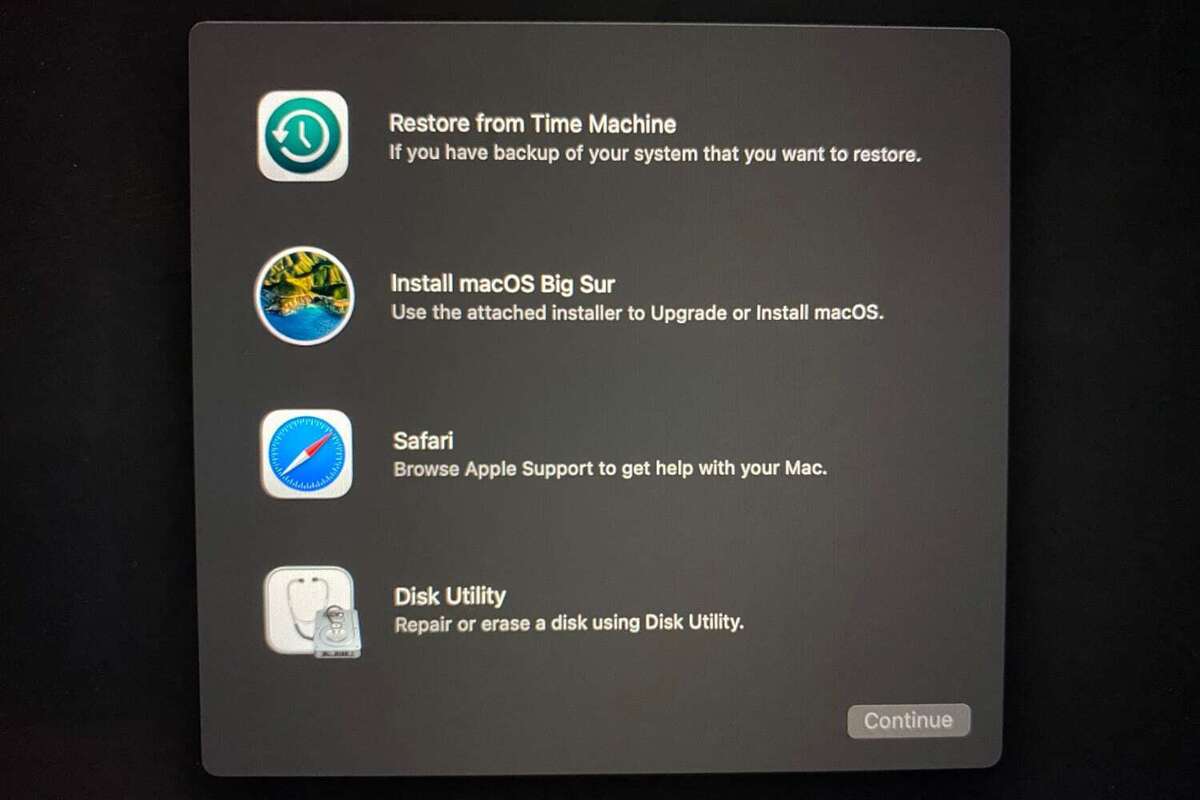
Now you are ready to install the system. Exit the Disk Utility to previous menu and select - Install Big Sur:

When it will promted where to install - select the Internal disk with just created name.
After it will finish installing we are ready to set up - select language and country and so on going forward till the migration assistant:
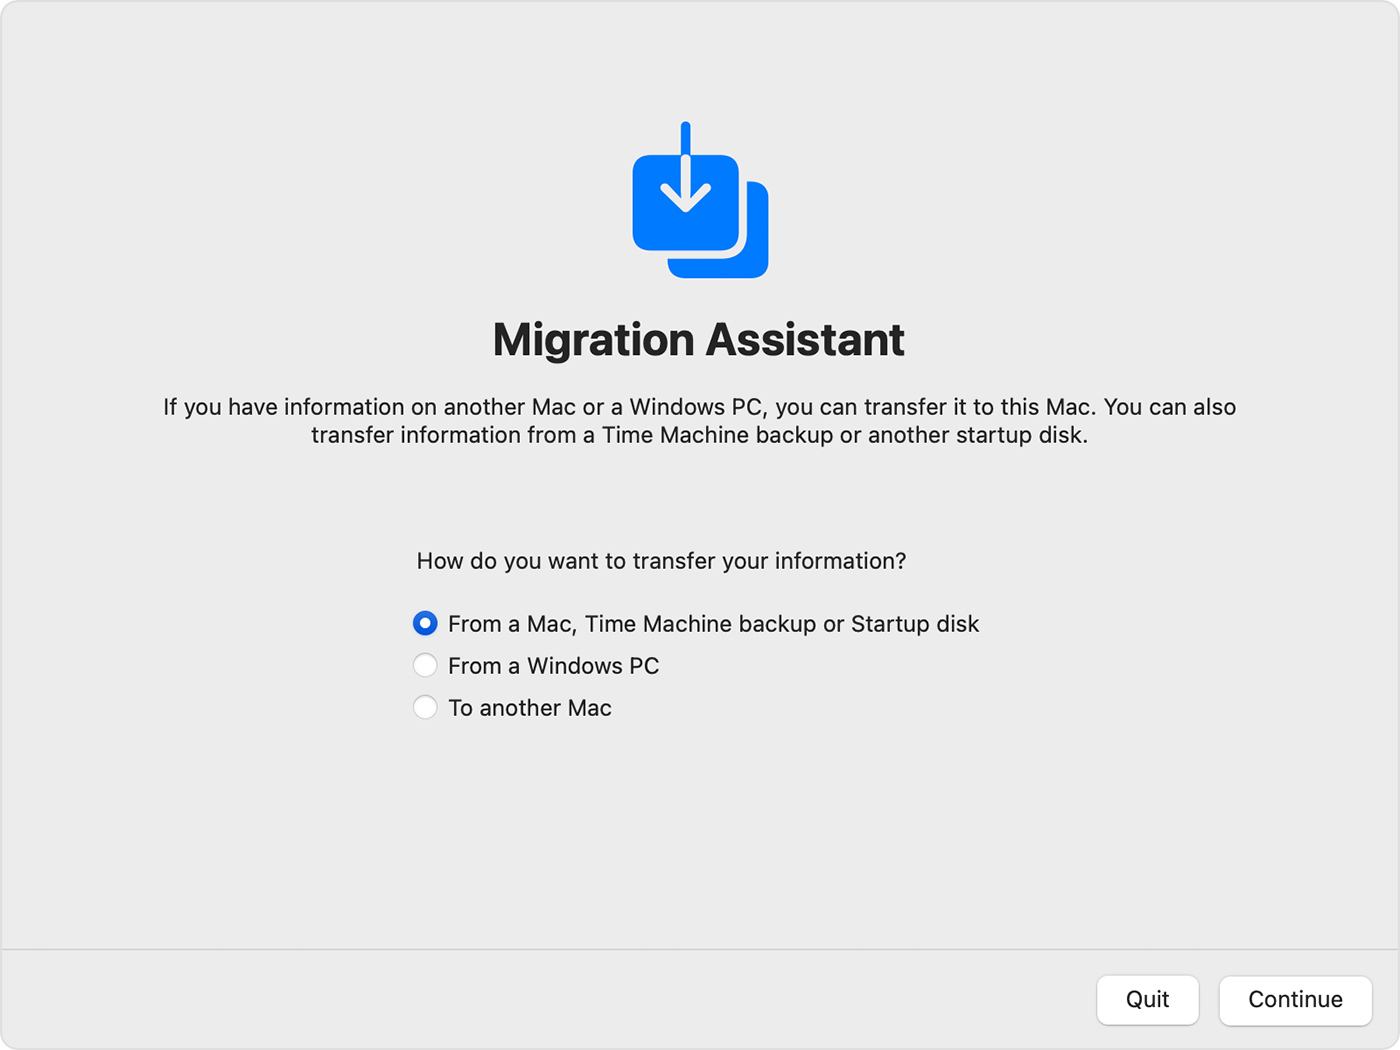 You will have to choose the top selected option -From a Mac, Time Machine, or Startup Disk and then select your External hard drive (I suppose you did not disconnected it otherwise plug it in). After some time, examining your drive, Mac will show you :
 Sizes may be different but entries will be the same and as you can see there are no users - don't worry all user data are in the "Other files and folders". Click Continue and it will start transferring all data back to the installed system and, again, it will take time.
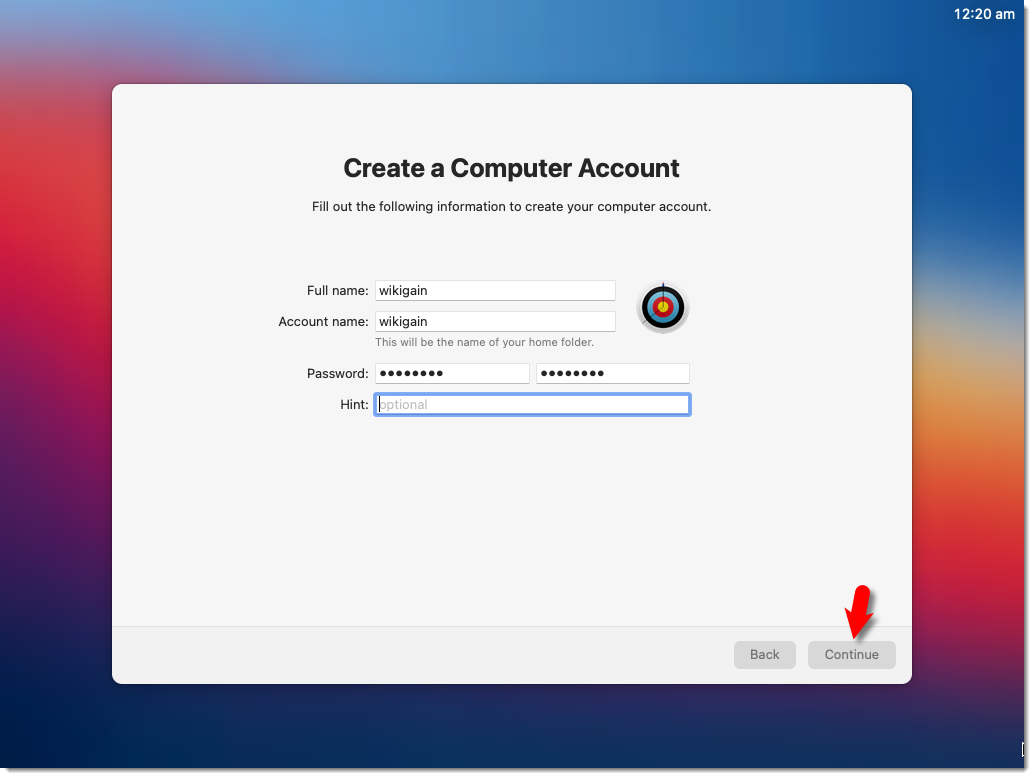
Now comes the final stage after the previous step will be completed - creating a user (or users): You need to create a user with exactly the same name as it was or in another case, you will have to copy data from folders manually. If the username is exact then you will see all your files on their places - Desktop, setting, mail, documents, pictures, and so on. And the only thing you will need to do is reinstall the apps you had before -while you install them you will notice that all the settings and info from the apps are saved - Last opened files, databases, etc.
Thas all falks! Now you have Big Sur installed and all data is back!


Comments